
I know it doesn't look like it's made out of a cardboard box. I use an A4 paper to wrap up the cardboard so that I can customize it. But first, here's what you need to make a notebook:
- a cardboard box
- one or two pieces of A4 paper (you can also use magazine pages to wrap the cardboard and papers to cut drawings for decoration)
- gel pens or other colouring materials
- duct tape
- stapler
- blank notebook papers

I have extra materials like the black ribbon and the purple denim jeans tag as decorations for more new notebooks. I'm planning to make three more notebooks, so I'll see how it goes.
You don't have to cut the cardboard straight away. Explore the material first, you'll never know what you'll find beside the lid and the base! You can use the flaps of the box as an extra opening for your notebook (see the image above).
- Unfold the cardboard box and place a piece of notebook paper onto it. Trace the lines of the paper so that you know where to cut. Make sure you trace the paper two times because you're making a book cover.
- Cut the two squares/ rectangles you've traced on the box. Like I mentioned earlier, you can use the flap as an extra. Make sure the flap fits with the book cover.


- Use duct tape to stick one side of the two cutouts together. Then, tape the flap you've cut at the other side of the cutout's back as shown above.
- Measure your now-called book cover on a piece of A4 paper and trace it. Cut the lines out and wrap the cardboard with the paper. I cut the middle line of the paper because it wouldn't fit over the cardboard unless there's a gap between the cover. So I seal the gap of the paper with duct tape and fold and seal the ends of the paper inside the cover like this:


- Pile up your notebook papers into one neat stack and place them into the book cover. Make sure that they fit into the cover. Flip the papers to the middle (try count approximately to where the middle pages of the notebook will be) and use a stapler to staple the middle of the pages together with the book cover as shown below:

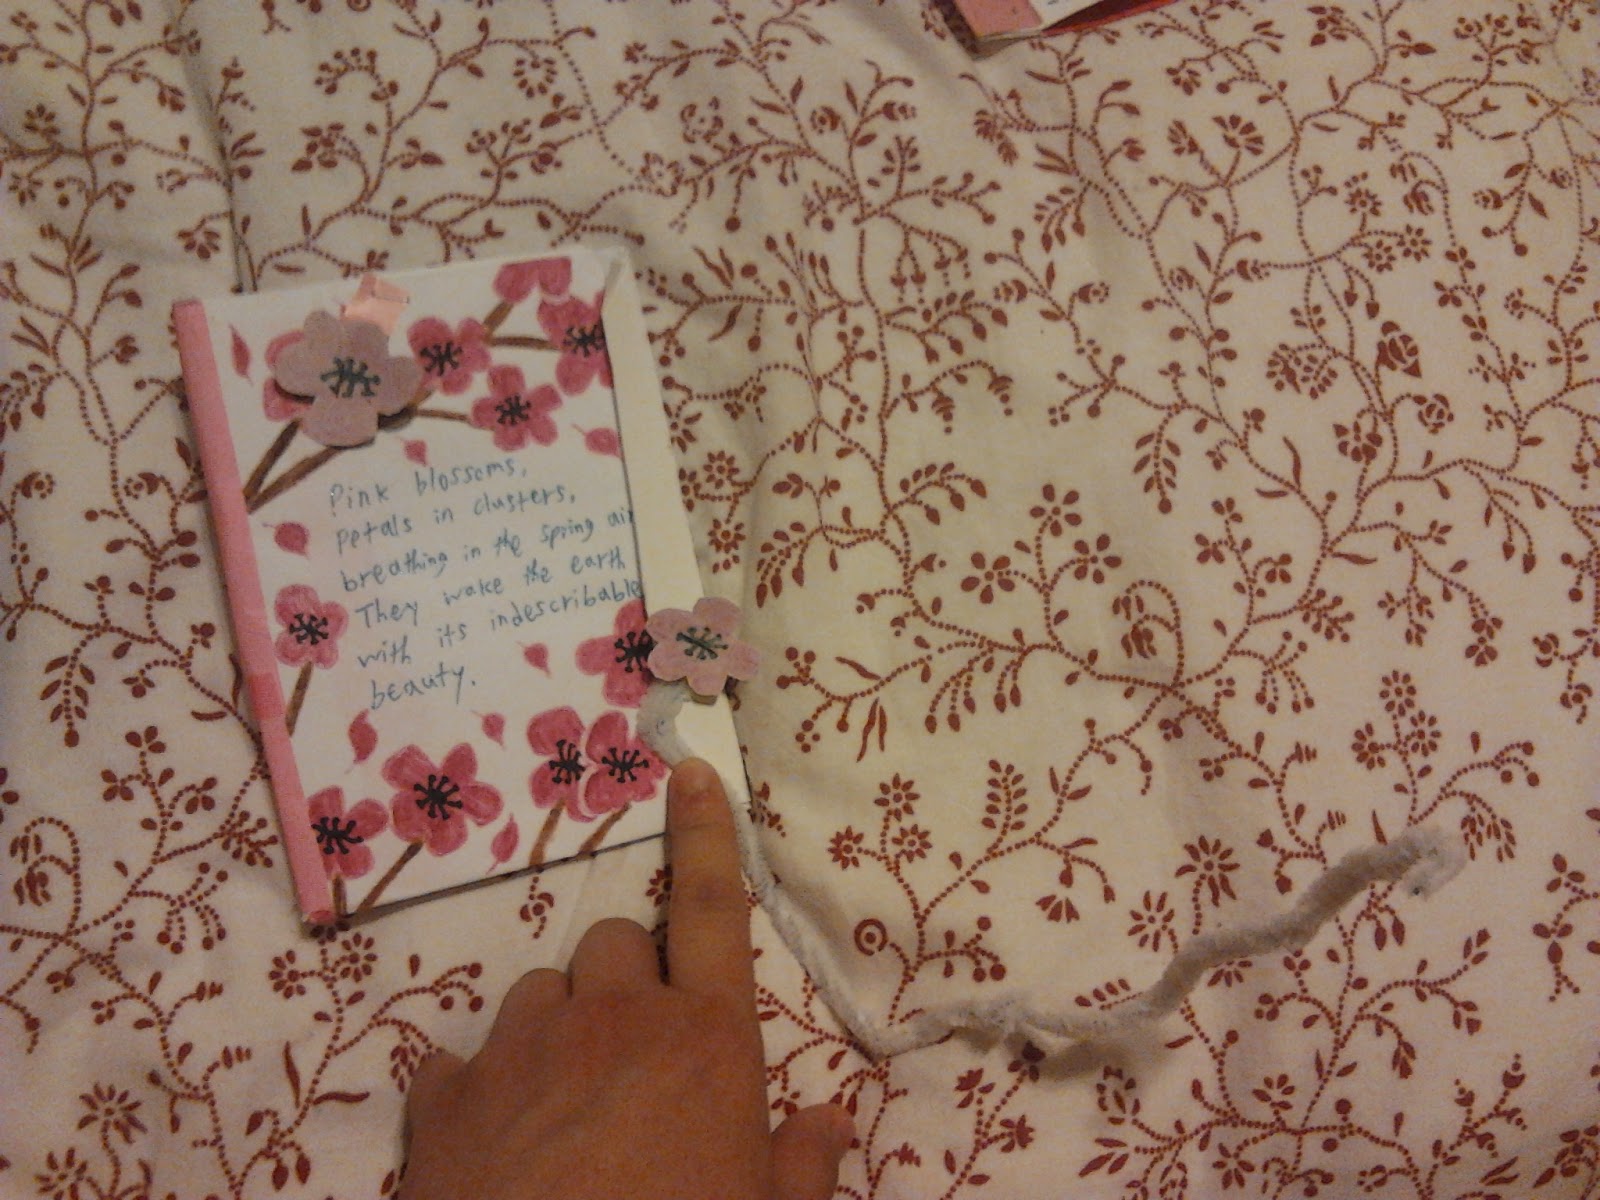
- Illustrate your cover! Use your handy colour materials to create your ideal notebook cover. I personally love drawing flowers like cherry blossoms and roses, so I use this cherry blossom background to make my notebook look appealing. Be creative! Design your notebook cover than represents you!
I also compose a poem on my notebook cover at the front and back...


I've added a little random detail here:
 |
| I've found this wire material around the house and I thought this would be perfect to keep the notebook close! |
Second notebook (magazine cutouts, pop-ups made from little cardboard strips, and paper to add as decoration)
 |
| The Wall-E pops up are awesome, I'm surprised they turn out well! |
 |
| A little poem at the back! |
 |
| The notebook paper are stacked in two parts and stapled from the top |
The third notebook is my favourite among them! It represents my personality and the poem almost overtook the entire cover, it's a good thing I leave a little space for the red rose background. And also, that complicated ribbon opening of this notebook takes a little while for me to think of something to hold the ends of the ribbon together, thanks to a paper clip.
 |
| Rose background and poem at the front... |
 |
| Back of the notebook with the poem continues... |
 |
| To make the opening, I use a ribbon, this special denim jeans tag that is cut and a paper clip. |
 |
| Notebook papers stacked into four parts! Two stapled from the top and two parts stapled from opposite sides! |

So I hope you 'll get inspired to create something like this! Get your creative juices flow now! See you guys in the next post!

No comments:
Post a Comment